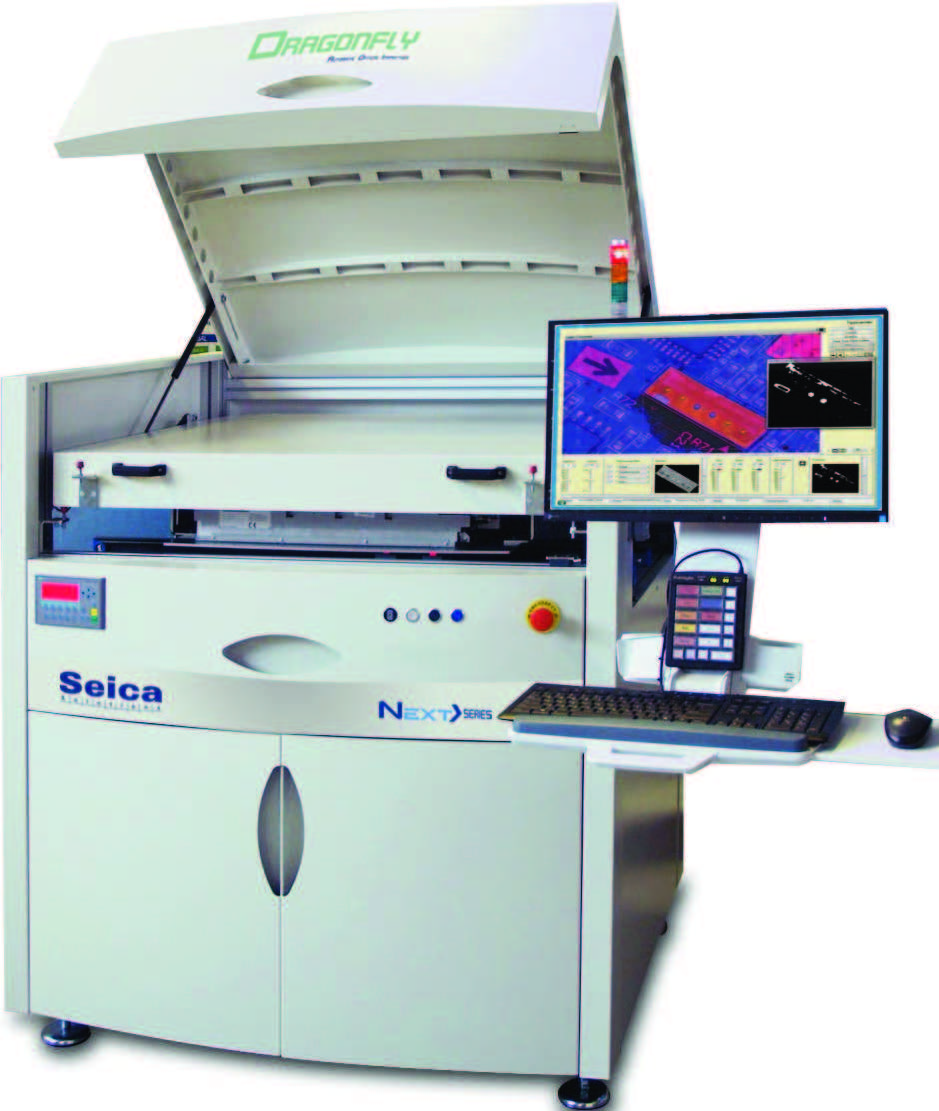
The Dragonfly CC NEXT>SERIES ensures a quick and complete examination of all coated assemblies. The combination of multi-colored LED lighting, UV-LED lighting with the color line scan camera enables clear Laquer Inspection. The full-scan imaging of the PCB will ensure proper detection of faults. Compared to manual inspection, the results of Dragonfly CC NEXT>SERIES are not operator dependent, but always objective and reproducible.
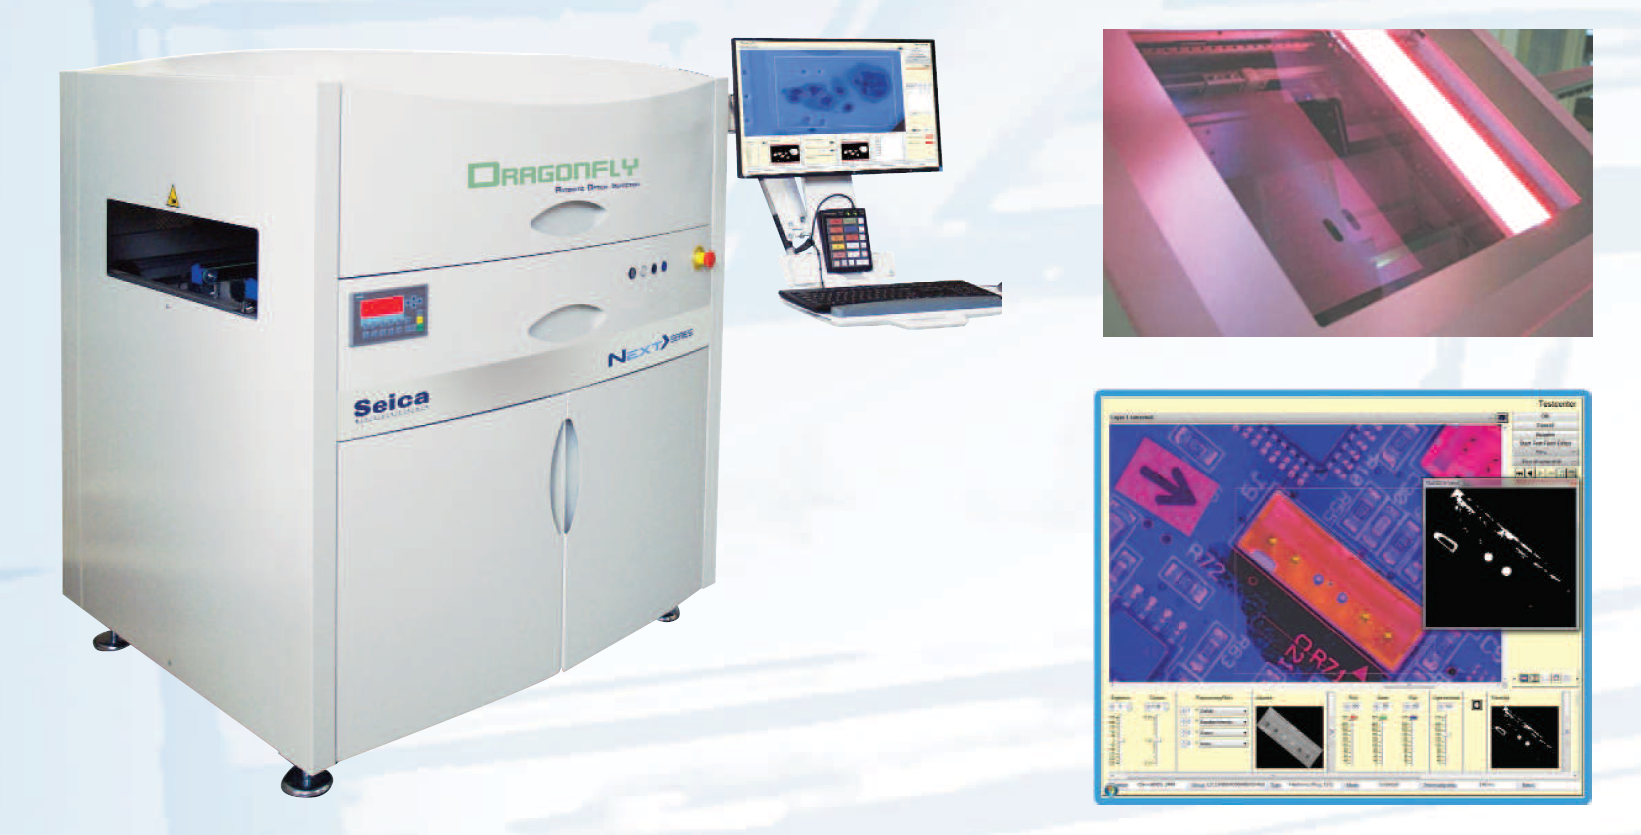
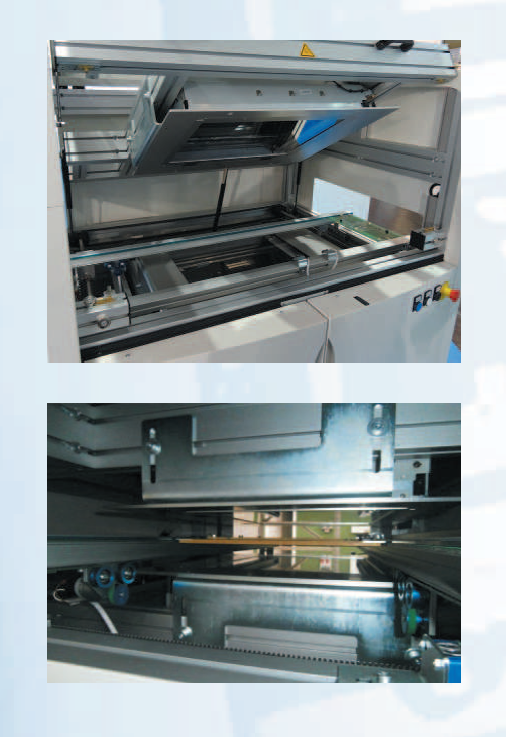
• Dragonfly CC NEXT>SERIES saves time, space and money.
• The typical payback is eight to twelve months.
To receive a flawless end product and at the same time reduce the costs for quality control and on-going basis, inspection is required to make sure faults do
not arise. AOI (Automatic Optical Inspection) allows an economical test of various processes. Automatic and manual fabrication steps can therefore be verified using many diverse criteria. There is a demand for a flexible solution; it should provide a test with different requirements in mind and without an elaborate and complicated test program process. The program generation can be done in minutes.
PROCESS OPTIMIZATION
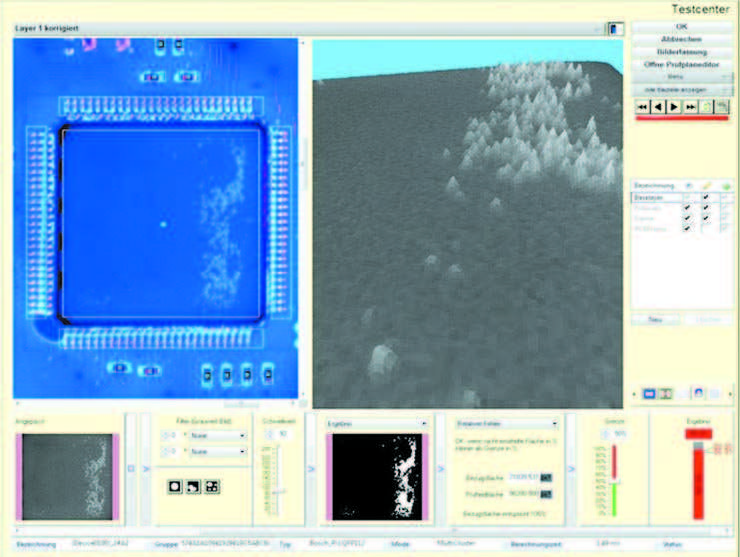
Utilising Dragonfly CC NEXT>SERIES for conformal coating not only detects faults like missing areas and splash contamination but also helps with process control. Initial coating programs can be checked and fine-tuned to create uniform coating patterns with an even thickness. Existing processes can be monitored for changes during the production run. A blocked nozzle or a material change can easily be spotted.
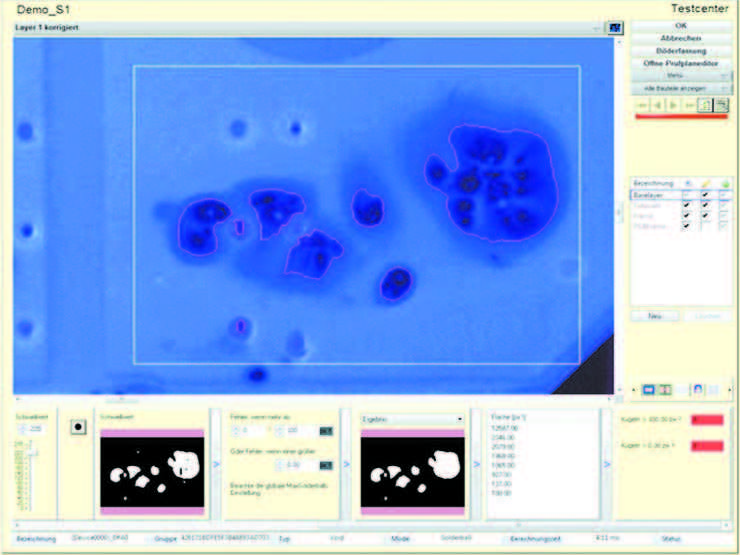
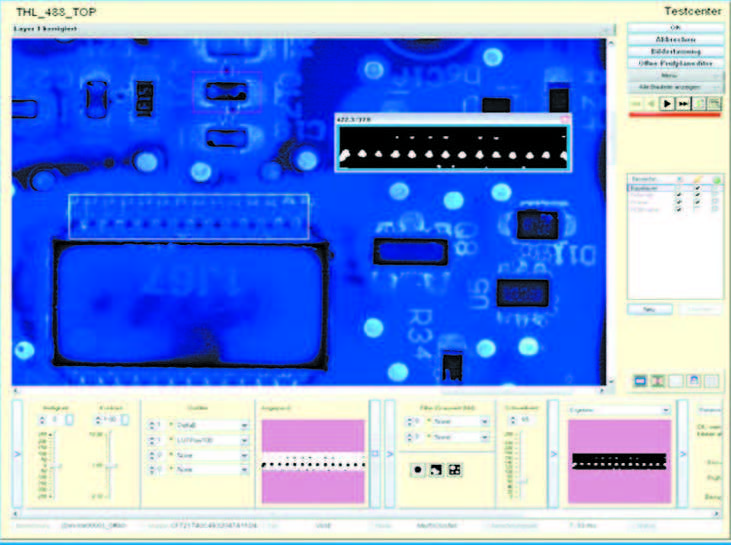
In order to detect conformal coating defects, it is necessary that the coating material has an UV trace. The product has to illuminate with UV light and using the fluorescent light for the inspection.
Our solution use an High Power UV LED source to amplify the response of applied product and have a better result in testing.
INDUSTRY 4.0:
Information, and the technology needed to collect and analyze data to obtain it, is key to the successful digitalization of the manufacturing process, which is at the heart of the Industry 4.0 concept. The Dragonfly CC NEXT>SERIES line has all of the capabilities needed for implementation in any Factory 4.0 scenario, providing the possibility to plug in any proprietary or third party information system to achieve the desired goals.
All the Dragonfly CC NEXT>SERIES testers feature the Industrial Monitoring solution “4.0 ready” by Seica, to monitor current absorption, supply voltage, temperature, light indicators and other parameters useful to indicate the correct operation, to ensure predictive maintenance and make the systems compatible with the new standards of the fourth industrial revolution ongoing nowadays.
QUALITY THROUGH PROCESS CONTROL:
• Painting zone (area)
• Paint splashes to 100μm (fully covered)
• Identification of DMC / barcode on the review page without additional Reader
High inspection depth and large test facility
• High-resolution color scanner
• Multi-color LED lighting Plus UV lighting
• 24Bit Color, 14.040 x 20.400 Pixel per Scan
• Board size: small ver. 300mm x 400mm, large ver. 420mm x 540mm
• High speed: 25mm/Second
• Entire surface in parallax view
• Twin system for simultaneous inspection of both sides of PCB’s TOP/BOTTOM
General features
• Power supply: 230V 50Hz 1Ph+N+G; 4 A
• Total External Dimensions: 1200 x 1071 x 1373mm (L x W x H)
• Weight: 560Kg
• SMEMA compatible
• Display the error position and representation of error and comparison image
• Software (GUI) identical to the test system and repair stations
• Fault is assigned by pressing a button statistics
• Easy to use and train
Statistics and Process Control
• Traceability by evaluating barcode / 2D code / RFID
• Cost savings because of quick process optimization
• Intuitive inspection plan
• Graphical interface
• Powerful and flexible test algorithms
• MLD1200: fixed optical system, only mirrors and illumination
are moving, almost no wear.
• Low maintenance.
• MTBF = 1,300,000 Scans / UV Lights 5000 Hours.
• One-Pass-Scan: complete test of the board in one pass scan.
• Timing depend on board size between 6 and 25 sec.

